How to Prevent Streaks With Alcohol Markers
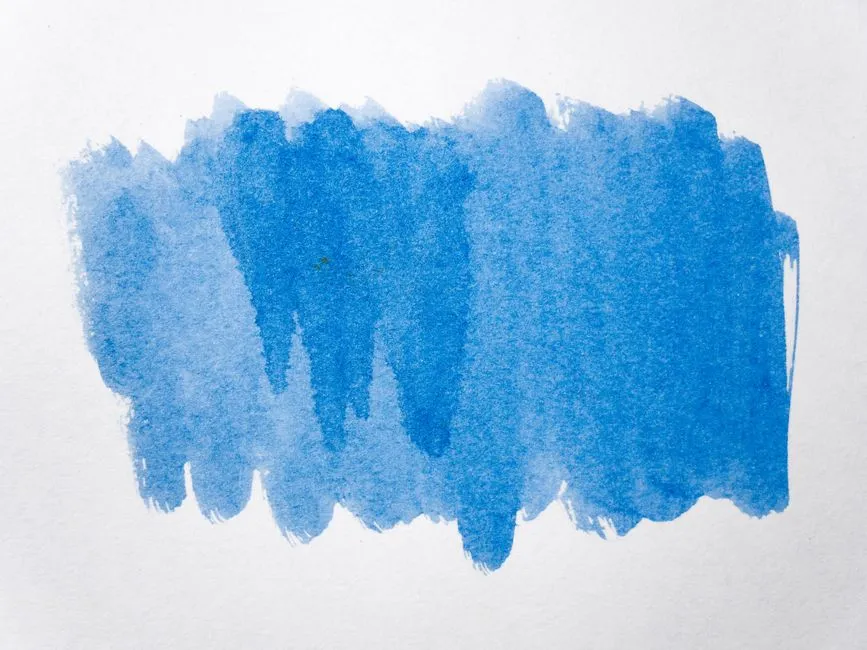
Start by identifying the kind of streak
To reduce streaks with alcohol markers, work in small sections, keep a wet edge, overlap neighboring strokes, maintain light consistent pressure, and choose paper that gives you enough working time. First inspect the mark. Parallel bands usually point to uneven overlap or a section drying between passes. A pale skip may mean poor contact. A fuzzy edge suggests paper feathering rather than a stroke problem.
The marker technique section treats those as different diagnoses. “The marker hates me” remains emotionally available, but it is not yet a test result.
Make a controlled swatch first
Use a scrap cut from the same sheet as the artwork. Draw four small boxes and label them with paper, marker, nib, and date. Fill one slowly with parallel strokes, one with quicker strokes, one in circles, and one using a second layer after the first dries.
The goal is not to crown a universal motion. It is to see how quickly that ink dries on that paper and whether a second pass smooths or darkens it. Coated marker paper, smooth Bristol, and absorbent mixed-media paper can produce different edges and working times even with the same marker.
Place clean scrap beneath the test when ink can bleed through. Protect furniture and follow the marker label for ventilation and handling. Keep alcohol-based products away from heat, sparks, and flame.
Work in sections that stay wet
Outline only a short boundary, then fill it before the edge dries. Large areas are easier when divided along a natural contour, shadow, fold, or object boundary. A single fine nib may be the wrong tool for a poster-sized sky; broader nibs cover more area with fewer joins when the maker offers them.
Move each new stroke into the still-wet edge of the previous one. Overlap enough that no dry paper remains between passes, but do not scrub repeatedly in one place. Excessive passes can oversaturate the sheet, push ink beyond a line, damage the surface, and produce a dark tide mark.
Keep pressure and angle consistent
Use light pressure that keeps the nib in full contact without crushing it. Hold the marker at an angle suited to the nib shape and pull strokes in a comfortable direction. Chisel nibs can lay down broad bands; brush-style nibs can vary width with angle and pressure. Exact behavior depends on the model.
Rotate the paper rather than twisting your wrist into an ambitious knot. Watch the leading edge of the fill, not only the nib. If the wet shine disappears before the next stroke arrives, make the section smaller or increase your pace without sacrificing control.
Layer after the first pass settles
One even pass may still show slight variation. Let it settle according to the paper and marker behavior, then add a deliberate second layer across the whole area if the value can become darker. Patching only the palest stripes can create new hard edges.
Test the second layer on the swatch first. Transparent marker ink generally deepens with repeated applications, and some papers reach saturation quickly. You cannot always smooth a pale color without changing its value.
The alcohol-versus-water marker guide explains why this layering behavior does not transfer unchanged between ink families; supply basics covers paper and nib variables.
Check ink flow and nib condition
A marker that suddenly skips, squeaks, or feels dry may have low ink flow, a damaged nib, or a poor seal. Cap it fully when not in use and store it only as the maker specifies. Some markers are designed for horizontal storage; others have model-specific directions.
Do not add rubbing alcohol, household solvent, or an unapproved refill. Formulas and seals vary, and improvisation can create leaks, damage the marker, alter color, or increase exposure. Use only the manufacturer's compatible refill or replacement procedure.
Accept useful texture when the drawing wants it
Perfectly flat color is one aesthetic, not a compulsory licensing exam. Directional strokes can describe wood, hair, fabric, grass, or motion. The important distinction is intentional texture versus accidental banding.
Keep the successful swatch beside the artwork and record what worked. Smooth fills become repeatable when paper, section size, overlap, pressure, and layer count stop changing at the same time.