How to Make a Marker Color Swatch Chart
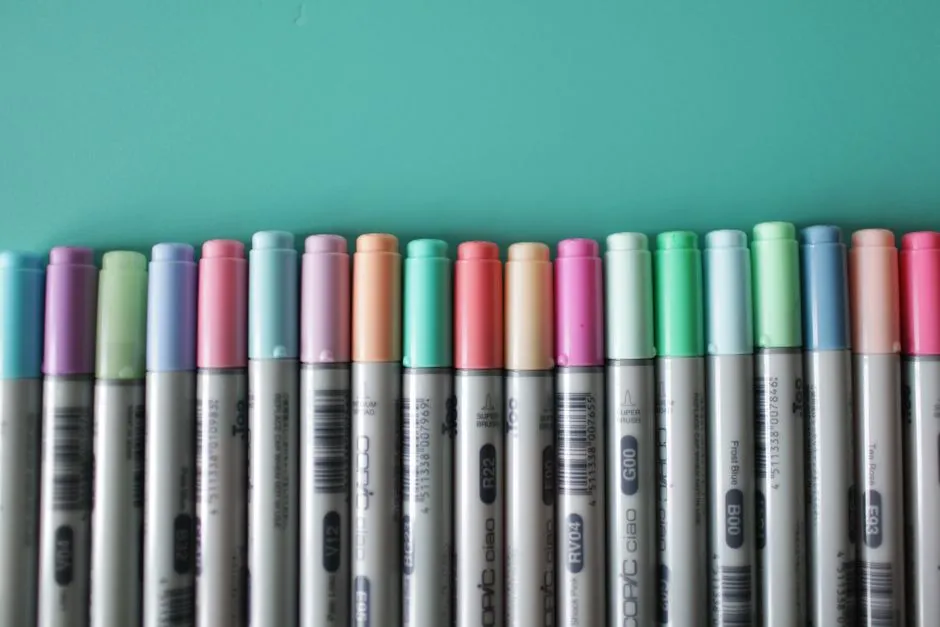
- How do you make a useful marker color swatch chart?
- Why make swatches when the caps already show colors?
- Which paper should you use?
- What belongs beside each sample?
- Should you draw a grid or print a template?
- How should you fill the samples?
- Should colors follow rainbow order or their numbers?
- How do you keep the chart useful?
- Sources
How do you make a useful marker color swatch chart?
Make a marker swatch chart on paper you actually use, label every sample with the product and color code, and record how you applied it. Keep an inventory sheet for finding colors and a separate scrap for testing a project's palette. Follow each product's ventilation and handling directions, protect the work surface, and let samples air-dry. A chart records your materials; it does not certify every future combination.
A row of colored patches becomes useful when it takes you back to the right pen. The pale blue you liked last month should not require opening every cap in the drawer to find it again.
Why make swatches when the caps already show colors?
Copic's FAQ says its caps are a rough guide: their pigment-and-resin material cannot perfectly match the dye ink. A cap helps locate a family; a sample lets you inspect what your marker put on your paper.
Keep that distinction modest. Your handmade sheet is a working reference, not a standardized color measurement. A photograph of it is useful for remembering your inventory, but use the actual sheet when choosing between similar samples at the desk.
Which paper should you use?
Choose the paper intended for the work and identify it on the chart. If you regularly use two different papers, make separate references instead of silently mixing their samples on one sheet.
Product guidance still matters. For its Dual Brush Pens, Tombow recommends smooth, non-textured paper. That is a named product recommendation, not a rule that every marker works on every smooth surface.
This chart is for paper drawing supplies. It does not establish suitability for skin, food-contact objects or another surface. Our marker-family comparison explains why the ink description alone cannot answer every use question.
What belongs beside each sample?
Use a layout you can expand. Here is our suggested record, rather than a manufacturer's testing standard:
| Field | What to record |
|---|---|
| Product | Brand and exact marker range |
| Identification | Complete color code and printed color name |
| Paper | Product name and the side used |
| Application | Nib and the passes you actually made |
| Date | When you made this sample |
| Location | Where the marker lives in your storage |
| Status | Owned, replacement needed, or only being considered |
Keep wish-list entries visibly empty until you have made a sample. A printed illustration of a color and a patch made with your own pen are different kinds of reference; label them accordingly.
For a mixed-brand collection, repeat the product name rather than assuming a number identifies a universal color. Copy codes carefully, including letters and leading zeros. A note such as “blue brush pen” becomes surprisingly unhelpful once you own several.
Should you draw a grid or print a template?
A hand-drawn grid lets you include only the materials you own. Leave enough room to read the label and inspect the patch separately. Add a blank margin for later notes rather than filling every available corner.
An official template can save setup time. Copic's blank Sketch chart is offered for personal use. Its instructions recommend a laser printer with heat-fixing toner because inkjet-printed lines may disappear when its dye ink is applied. Check your printer's supported paper before printing; the download does not override the printer manual.
Keep an official personal-use template for your own reference. Make an original layout for a worksheet you intend to distribute.
How should you fill the samples?
Decide what each patch means before you start. A consistent reference is easier to interpret than a sheet where one color received a quick stroke and another was repeatedly worked without a note.
For a concrete manufacturer example, Copic's swatch-card instructions show a first layer, a second layer over it and an optional third to display gradation. They also require the supplied underlay beneath the card because ink can bleed through. That method describes its cards and markers, not every ink family.
For your own sheet, record your chosen application and repeat it for the colors being compared. Keep separate space for any layering experiment. Let samples air-dry and follow the products' instructions before handling them. This inventory exercise does not need a heat source, added solvent or improvised refill.
If a patch looks streaky, record it and investigate separately. The streak-prevention guide addresses technique; repeatedly correcting one chart square changes what that square represents.
Should colors follow rainbow order or their numbers?
Either can work. Numerical order helps retrieve a known code; broad color groups help compare nearby choices. Our practical compromise is a numbered inventory plus a small project palette on scrap.
Do not assume every manufacturer's numbering follows one system. Copic explains that its letters identify hue, the first digit indicates saturation, and the remaining digits indicate brightness. Use its full explanation for that range rather than reading every other brand's codes the same way.
Before a drawing, place your proposed colors together on the actual project paper. Identify each pen and keep this palette with the drawing notes. The inventory answers “where is it?”; the project scrap answers “which of these do I want together?”
How do you keep the chart useful?
Update a changed material openly. Date a replacement sample rather than coloring over the original and erasing the comparison. Cross out an unavailable pen's storage location; retain its identity if it appears in older project notes.
Follow marker labels for storage and handling. Copic directs users to work in a well-ventilated room and stop if they feel unwell; its FAQ identifies Copic Ink refill as flammable and requires storage away from ignition sources. Secure supplies away from children and pets. Obtain appropriate help for an exposure concern.
File the chart where you choose supplies, with the paper identified. It need not look like a shop display. A readable reference that keeps pace with your drawer is doing its job.